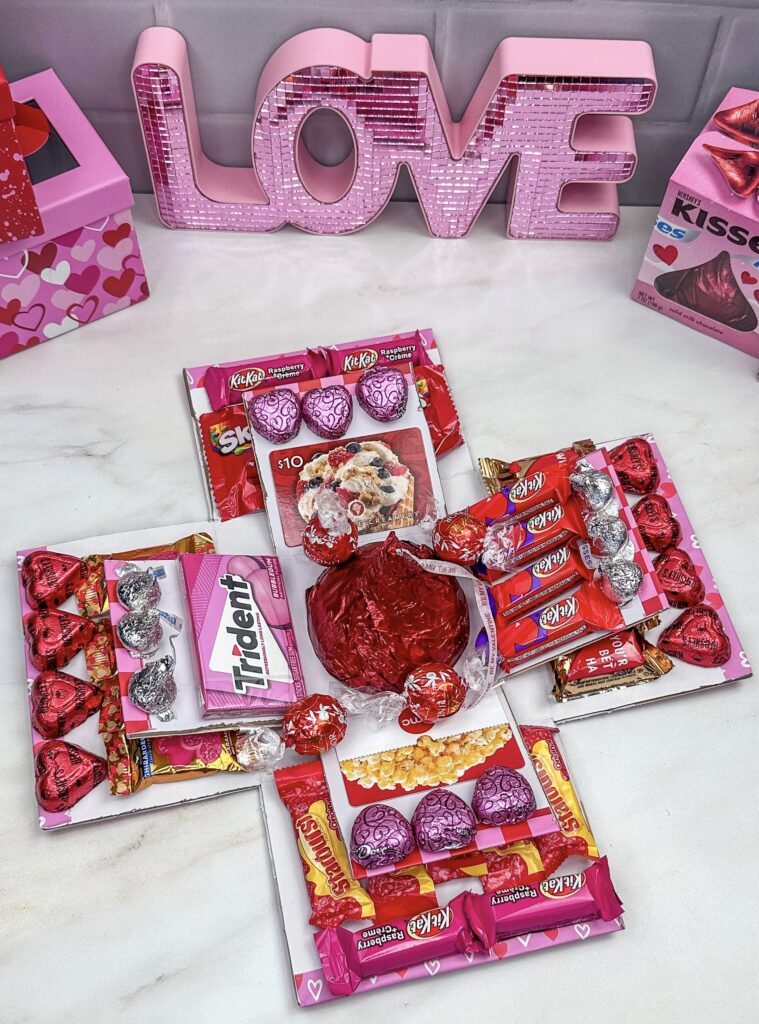
Looking for a unique and delightful way to present your gifts? Look no further than the DIY Gift and Candy Explosion Box! This creative and personalized gift box is not only easy to make but also adds a touch of excitement and sweetness to any occasion. In this blog post, we’ll guide you through the simple steps to create your very own explosion box filled with candy, gift cards, and surprises.
Materials Needed:
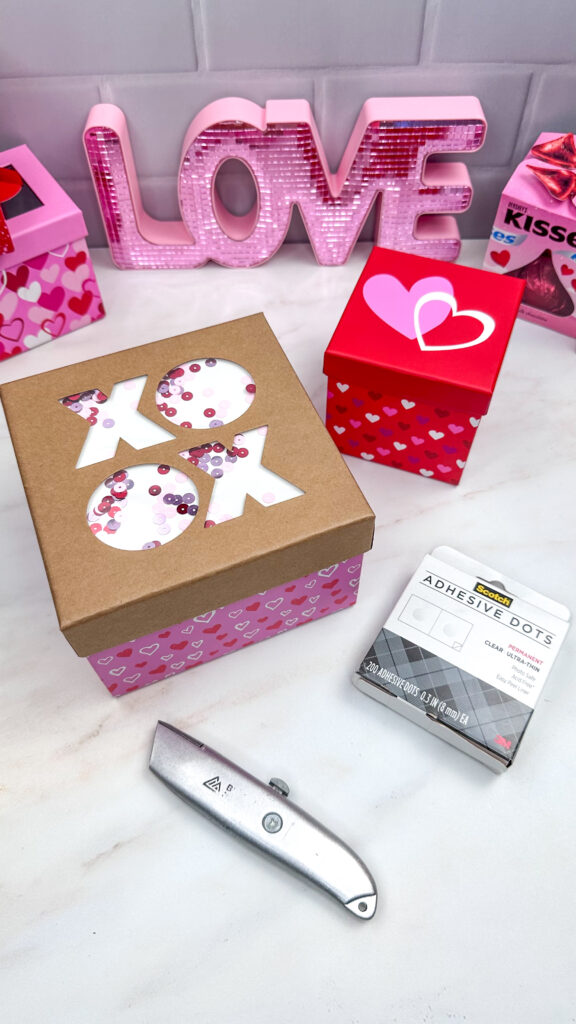
- Square boxes with lids from Walmart (varying sizes for nesting, link to boxes)
- Glue dots or double sided tape
- Hot glue gun
- Assorted candies
- Gift cards
- Wrapping paper or decorative paper
- Scissors and Exacto knife (box cutter)
- Ribbons and embellishments for decoration

Step 1: Gather Your Materials
Collect all the necessary materials to create your DIY explosion box. Choose boxes of different sizes to create a nesting effect, enhancing the surprise element when the box is opened. The Valentine’s Day ones can be found in the season section. You could also use plain boxes and decorate them yourself.
Step 2: Prepare the Boxes
Take the square boxes from Walmart and carefully cut down all four corners of each box.
Step 3: Decorate the Inside
Optional: Cover the inside of each box with festive wrapping paper or decorative paper of your choice. This step adds a personalized touch to the explosion box. Use glue dots to secure the paper to the inside of the boxes.
Step 4: Nest the Boxes
With a hot glue gun, secure the smaller box inside the larger one, creating a nesting effect. This step adds an extra layer of surprise when the recipient opens the box, revealing multiple layers of gifts.
Step 5: Attach Candies and Gift Cards
Now comes the fun part! Use glue dots to attach an assortment of candies and gift cards to the sides of the boxes on the inside. Be creative in arranging them, ensuring a vibrant and colorful display. Skys the limit on which items you choose. For an adult, you could add mini shots, cigars, and more gift cards.
Step 6: Close and Decorate
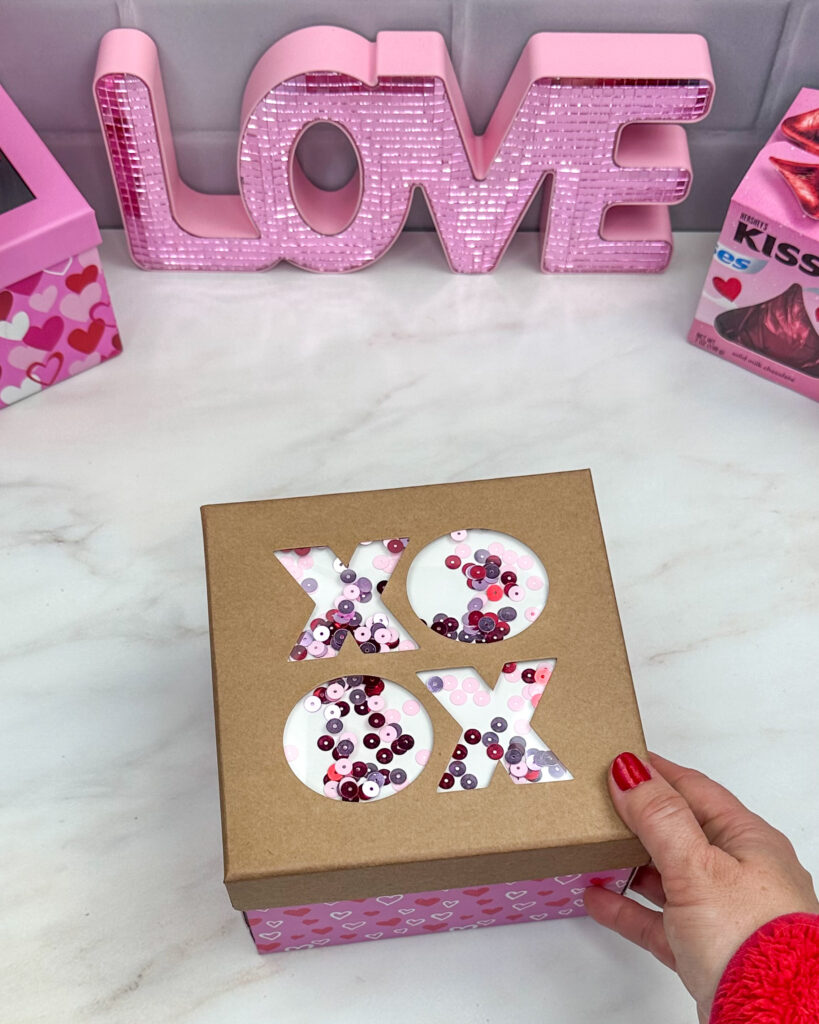
Close the lid of the outermost box, concealing the treasures within. This is optional if outside is not already decorated or you want to add more. Decorate the outer surface with ribbons, bows, and other embellishments to make the box visually appealing.
Step 7: Gift and Enjoy the Surprise!
Present your DIY Gift and Candy Explosion Box to your loved one, and watch their eyes light up with joy as they open the box to discover a delightful explosion of candies and gifts.

Creating a DIY Gift and Candy Explosion Box is a fun and imaginative way to add a personalized touch to your gifts. Whether it’s for birthdays, holidays, or special occasions, this unique gift box will surely make a lasting impression. Get creative, have fun, and spread the joy with this sweet and surprising DIY project!
